
A couple of months ago, I came across some videos from a YouTube star in the backpacking/through-hiking world known as Darwin onthetrail. He occasionally does bicycle touring, and most of the advice he gives and gear he talks about apply equally to bike touring (or bikepacking) as well as hiking.
I had never heard of the concept of “cold soaking” food until I saw Darwin mention it in a couple of his videos. Typically, backpackers and bikepackers carry a stove, fuel, and cooking pot for boiling water to prepare dehydrated food. What you can do instead is put your food with some water in a container a few hours before you plan to eat it. The time allows the food to soak up the water and be reconstituted just as well as when it’s heated and/or boiled. This saves the weight of the stove and fuel in your kit, plus saves time when you get to your camp site and are ready to eat.
I decided to test this out for myself during today’s ride. My route was a nice loop that connects four bike trails: the Ohio & Erie Canal Towpath Trail (in the Cuyahoga Valley National Park and the Summit Metro Parks), the Freedom Trail connecting Akron to Tallmadge to Kent, the Portage Hike & Bike Trail, and the Summit Metro Parks Bike & Hike Trail.
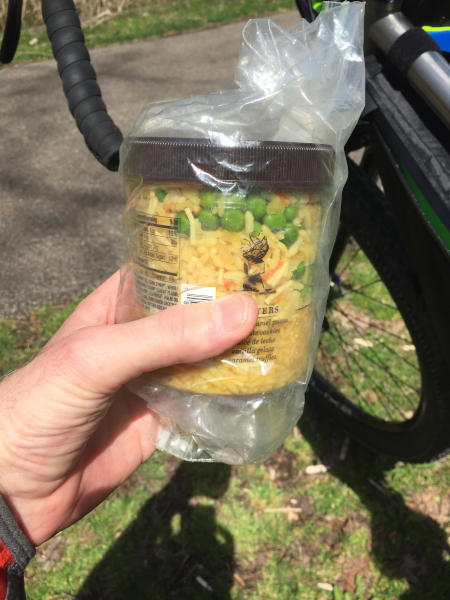
I re-used a container from Talenti Gelato, which is recommended by Darwin, and apparently is a popular option among many other cold soaking enthusiasts. I poured in the contents of a Knorr’s Rice Sides packet, and planned to add a packet of StarKist Tuna. I don’t think the Talenti container is big enough for this particular combination. The Knorr’s instructions on the packet said to use 1¾ cups of water for stove-top cooking, or 2 cups for microwave cooking. I could only fit about 1½ cups of water in the container with the rice mix before it started to get precariously full. I screwed the lid on tight, and gave it some shaking to try to distribute the water throughout the rice mix, but it seemed like the water was already starting to get so soaked up that there wasn’t much distribution going on. The vegetable pieces and powdered seasoning pretty much stayed near the top of the container.
I wasn’t sure how well the lid would hold up under the rigors of being in a bike frame bag (especially with the bumpy conditions on the Towpath Trail due to recent construction work), so I stuck it inside of a plastic resealable bag just in case.
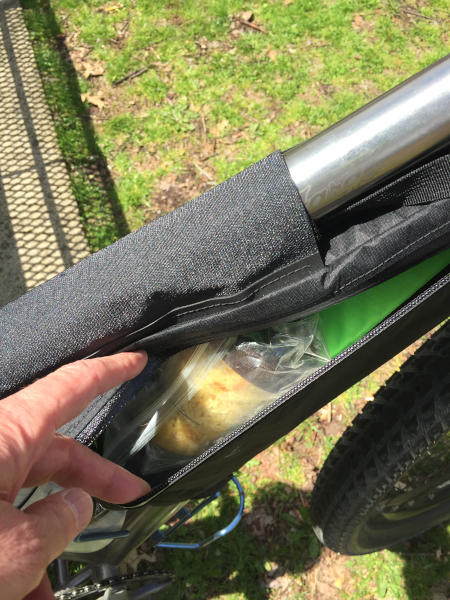
This fit nicely inside of my new Oveja Negra Superwedgie Frame Bag (thanks, Mom!), along with my spoon, cable lock, and garage door opener, with room to spare.
During the ride, I came across a nice, secluded bench on the Portage Hike & Bike Trail, and decided that would make a good lunch spot. I took out my food container and dug in. The lid held up fine; there was no mess in the plastic bag.
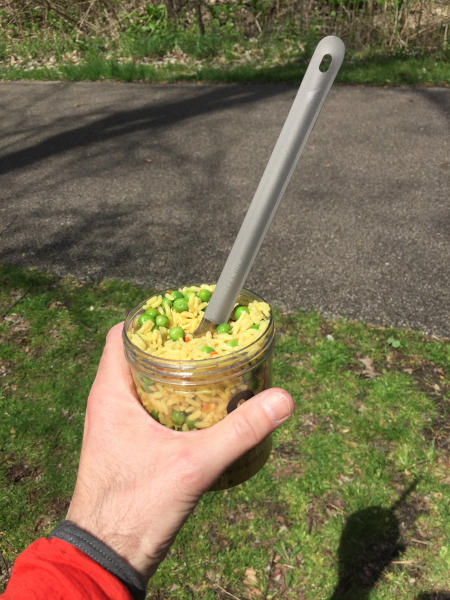
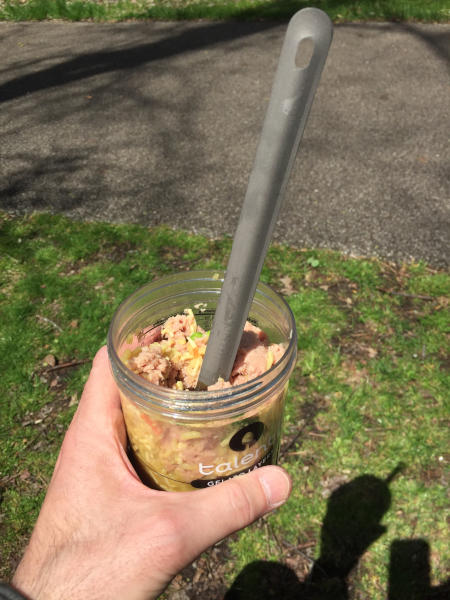
After eating about a third of the rice mix, there was enough room for me to stir in the tuna.
So, the 64-dollar question, of course, is, “How was it?” Surprisingly good, I must say. The consistency of the rice mix and the taste were the same as what I’d expect if they were prepared the traditional way with boiling water. My fears about the ingredients not being able to mix up well enough were unfounded. As I ate, I did not notice any pockets of “no taste” or “too much taste.” The rice soaked up the water well. I would not have wanted to use any less water, as overall, it was just on the good side of “moist enough” to eat.
If I were eating this in the comfort of home, I would probably be thinking, “This is kinda gross.” That’s probably the case with most camp food, though. At this point, I had been on my bike for 3½ hours, and it had been 5½ hours since I had eaten anything at all, so this meal seemed like a gourmet smorgasbord. I’d probably be finding myself in much the same situation any time I used this food preparation method, so I expect I’d feel much the same way every time.
For quality and convenience, I give the concept of cold soaking two thumbs up, and it goes without saying that it fulfills the goal of weight savings. The only downside would be getting used to eating your dinners cold.
If I do cold soaking in the future, I’d likely look for a larger container. Peanut butter jars come highly recommended, or if money is no object, the Vargo Titanium Bot HD would be my first choice. A Hydro Flask 18-ounce Food Flask would probably make a good budget-friendly choice if you’re not into re-using containers from store-bought foods (although it’s a pretty heavy option).
Backpacking stoves and cookware are so small and light these days that for multi-day trips, I’d still stick with traditional cooking methods. The extra stuff to carry is worth it for me to have a hot meal at the end of the day, not to mention hot coffee for breakfast.
Where I’ll likely use cold soaking is impromptu one-night trips, where maybe I don’t have the time to plan my packing list very well, or don’t have the time to set up my bike to carry more than bare minimalist gear. Or, if I anticipate feeling lazy once I get to the camp site. Another situation where I see a big advantage to cold soaking would be an event such as a multi-day self-supported race, where time, in addition to weight, is a big factor.


Leave a comment